Setting different prices for a product
This guide explains how to configure multiple prices for a single product or dish so that, during billing, the correct price is applied automatically based on the order type, such as AC, non-AC, or wholesale.
Prerequisites
-
You are logged in to the merchant app with a role that has edit access to Inventory and Products/Menu.
-
The product (menu item) is already created in Inventory → Base Menu → Products.
-
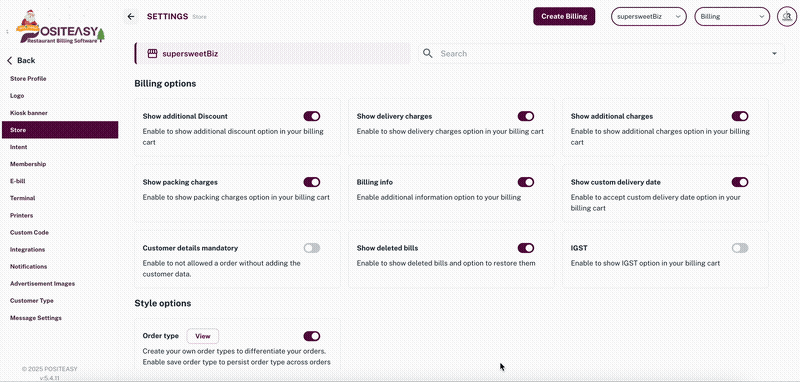
Order types such as AC, Non-AC, and Wholesale are created and enabled in the store settings.
Step 1: Open the Products list
- From the main navigation bar, tap Inventory → Base Menu → Products.
- Search for and select the product you want to configure multiple prices for (for example, Veg Biryani).
- Tap the three dots icon next to the product and select Edit.
- Alternatively, you can configure multiple prices for the product while creating a new product.
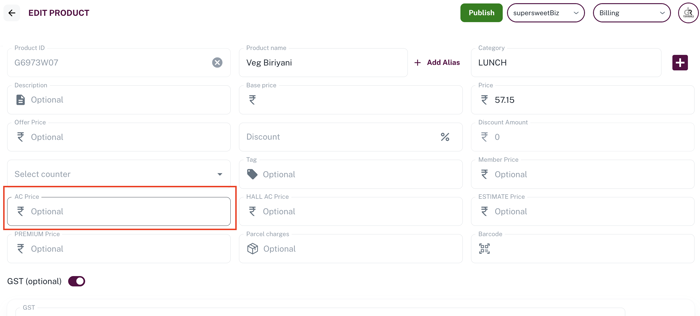
Step 2: Go to the price section
- In the product details screen, go to the Order type price section for the created order types.
Step 3: Configure multiple prices
-
Add or edit the entry for the intended order type to set the price.
-
For example, set the AC price for the product (for example, ₹70).
-
-
Save the changes so that each floor/section in the restaurant can use its own price level.
Step 4: Configure prices for other order types
- Repeat Step 3 for other order types (for example, Non-AC, Wholesale), if needed.
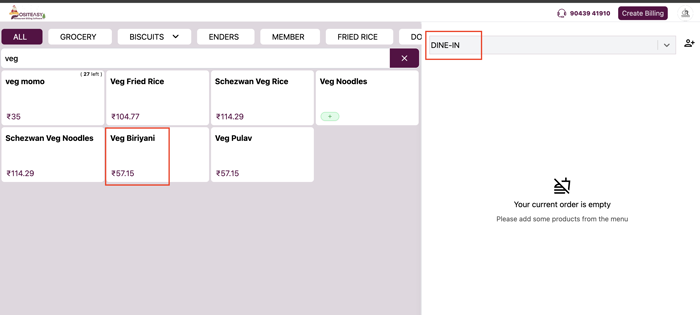
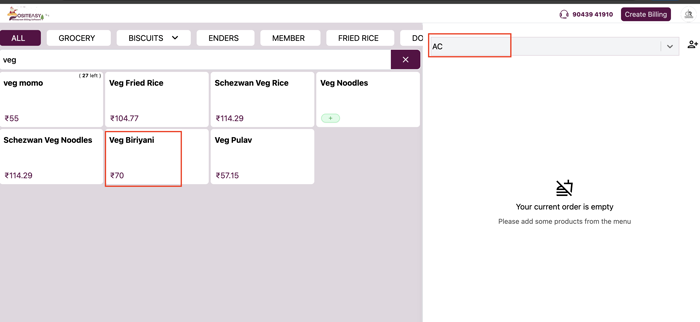
What happens during billing
- When an order is placed in the AC section, the product veg biriyani is billed at ₹70 according to the AC price level.
- When an order is placed in the normal Dine-In section, the same product is billed at ₹57.15.